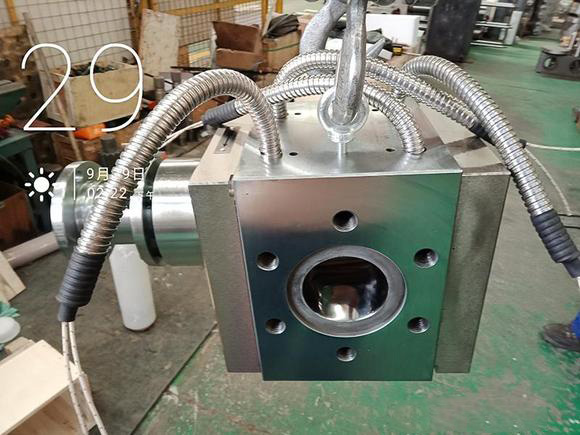
How to debug the melt pump after installation?
The melt pump is widely used in the extrusion molding of plastic, resin, rubber, and chemical fiber products. After the installation and parameter setting of the melt pump are completed, the system can be put into operation. This article provides a detailed introduction to the steps and details of how to debug the melt pump after installation.
1. Start preheating the front end, pump body, and rear section of the melt pump body.
2. After the temperature of the melt pump reaches the set temperature, remove the cover of the motor fan and manually rotate the fan blades to drive the melt pump to rotate. It is normal to have no sticking points, no abnormal noise, and smooth rotation.
3. Then keep the automatic knob in manual mode.
4. Set the frequency of the melt pump to around 5HZ and the host to around 3HZ. Increase the host frequency to around 0.5HZ and stop for a while, and constantly observe changes in inlet pressure.

5. When the pressure reaches the set pressure, let it stabilize for a while and then switch to automatic mode.
6. After the main machine is automatic, slowly increase the frequency of the melt pump to around 1HZ at a time until it meets the feeding requirements of the mold head.
7. During the trial operation, attention should be paid to observing the changes in various parameters of the melt pump. If there are any abnormalities, please turn off the automatic control status. Check and promptly eliminate the cause. In emergency situations, the emergency stop button can be pressed to stop the system.
8. Please refer to the debugging instructions for detailed usage.
Email: info@battemachinery.com
Whatsapp: +86 158 38331071